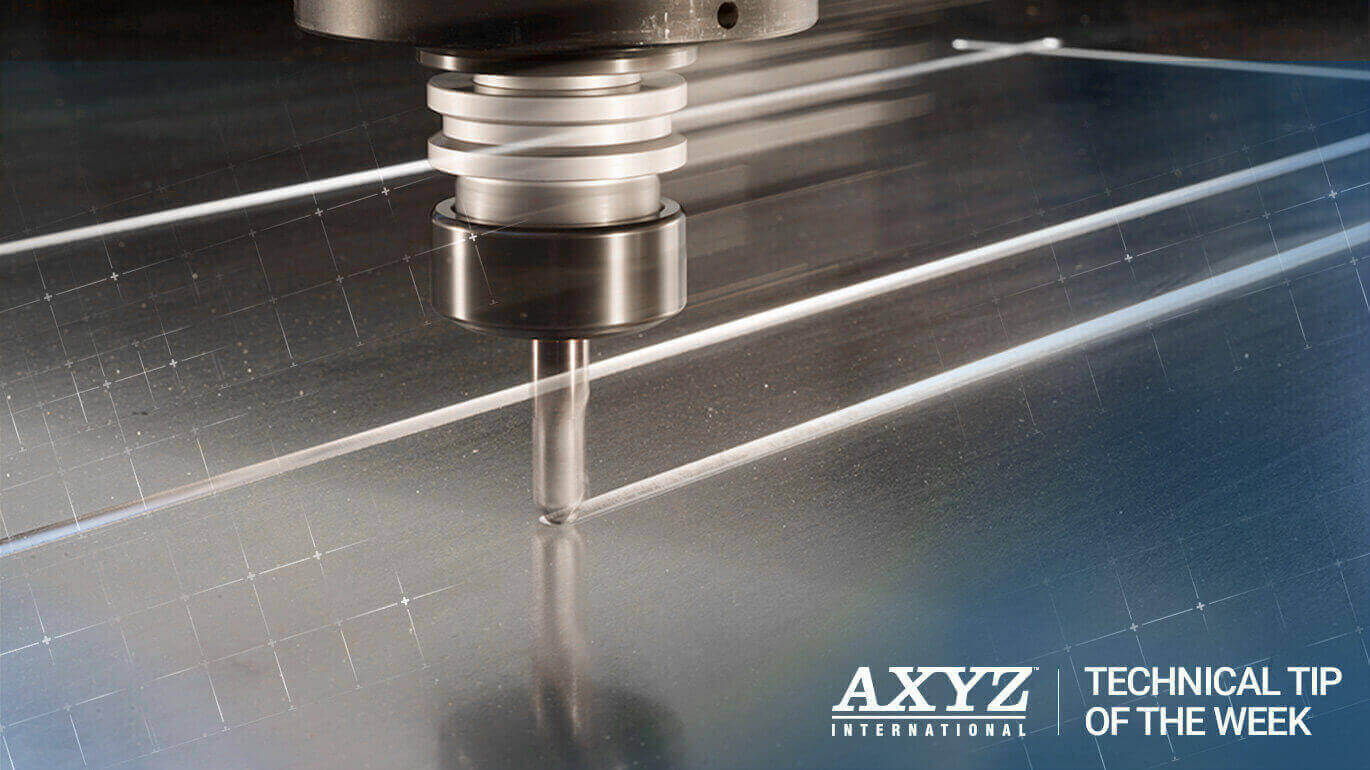
There’s nothing better than getting to the end of your cut job, and seeing your hard work finally come to fruition. But depending on the size of your parts, it’s at this point, when you’re just about finished but still have a little way to go, where problems may arise. Even with a good vacuum hold, you may encounter some problems that prohibit you from completing the job satisfactorily. This is where holding tabs come in. In this week’s tech tip, you’ll learn how to use holding tabs correctly so you can save time, energy and avoid the hassle of having to start your project all over again!
Why do you need holding tabs?
Small or slender parts don’t always retain a vacuum hold well, causing them to move around and possibly end up moving against the cutter. When that happens, the cutter may accidentally cut into your part, requiring it to be recut all over again. Sometimes, depending on the type of material, you may even end up with a damaged tool. The use of holding tabs can eliminate these issues.
Most programming systems allow you to define tabs of any thickness and width and position them at any point on the cut vector. You can choose between how many tabs to create and how often they are placed. It’s a good idea to place one of the tabs somewhere near the finish of the cut, as this is the most likely point where movement and damage can occur.
Once your job is finished, simply snap the finished part out and clean up the unwanted remainder of the tab. If the tab leaves the edge of the part with a tiny broken nipple, remember to file or grind it away. This may seem like unnecessary work, but compared to having to re-cut the part or possibly replace the tool, it’s often a much better alternative.
For more information on how to cut with small parts, read our previous tech tip “Holding Small Parts on Your CNC Router”.

