


Did you know that cast and extruded acrylic cut quite differently? Or that tool selection and machine acceleration play a fundamental role in the quality of your finished product?
If you know how to set up your machine, choose the right material, select the correct tool and use the correct cutting strategy, you are ahead of the game.
Our Application Specialists gave us some useful insights into the world of cutting clear acrylic…
Machine Configuration and Setup
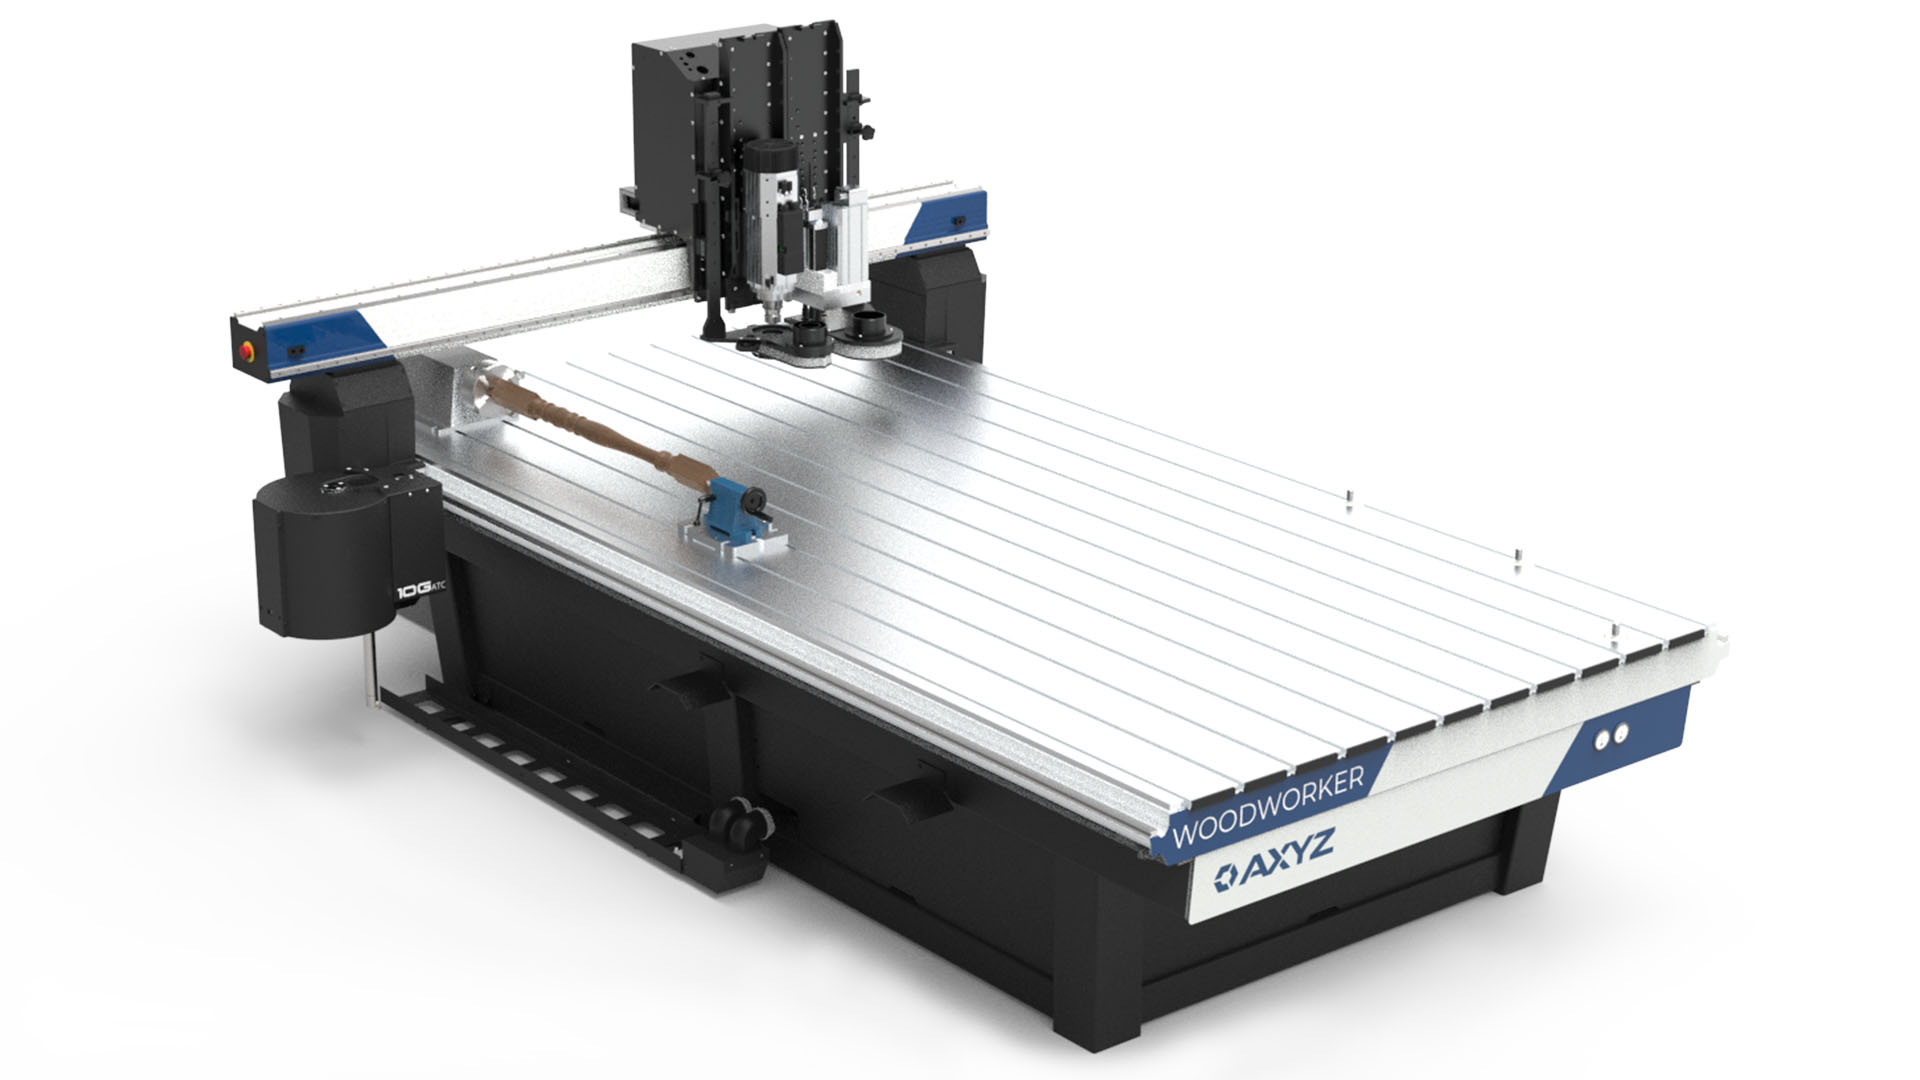
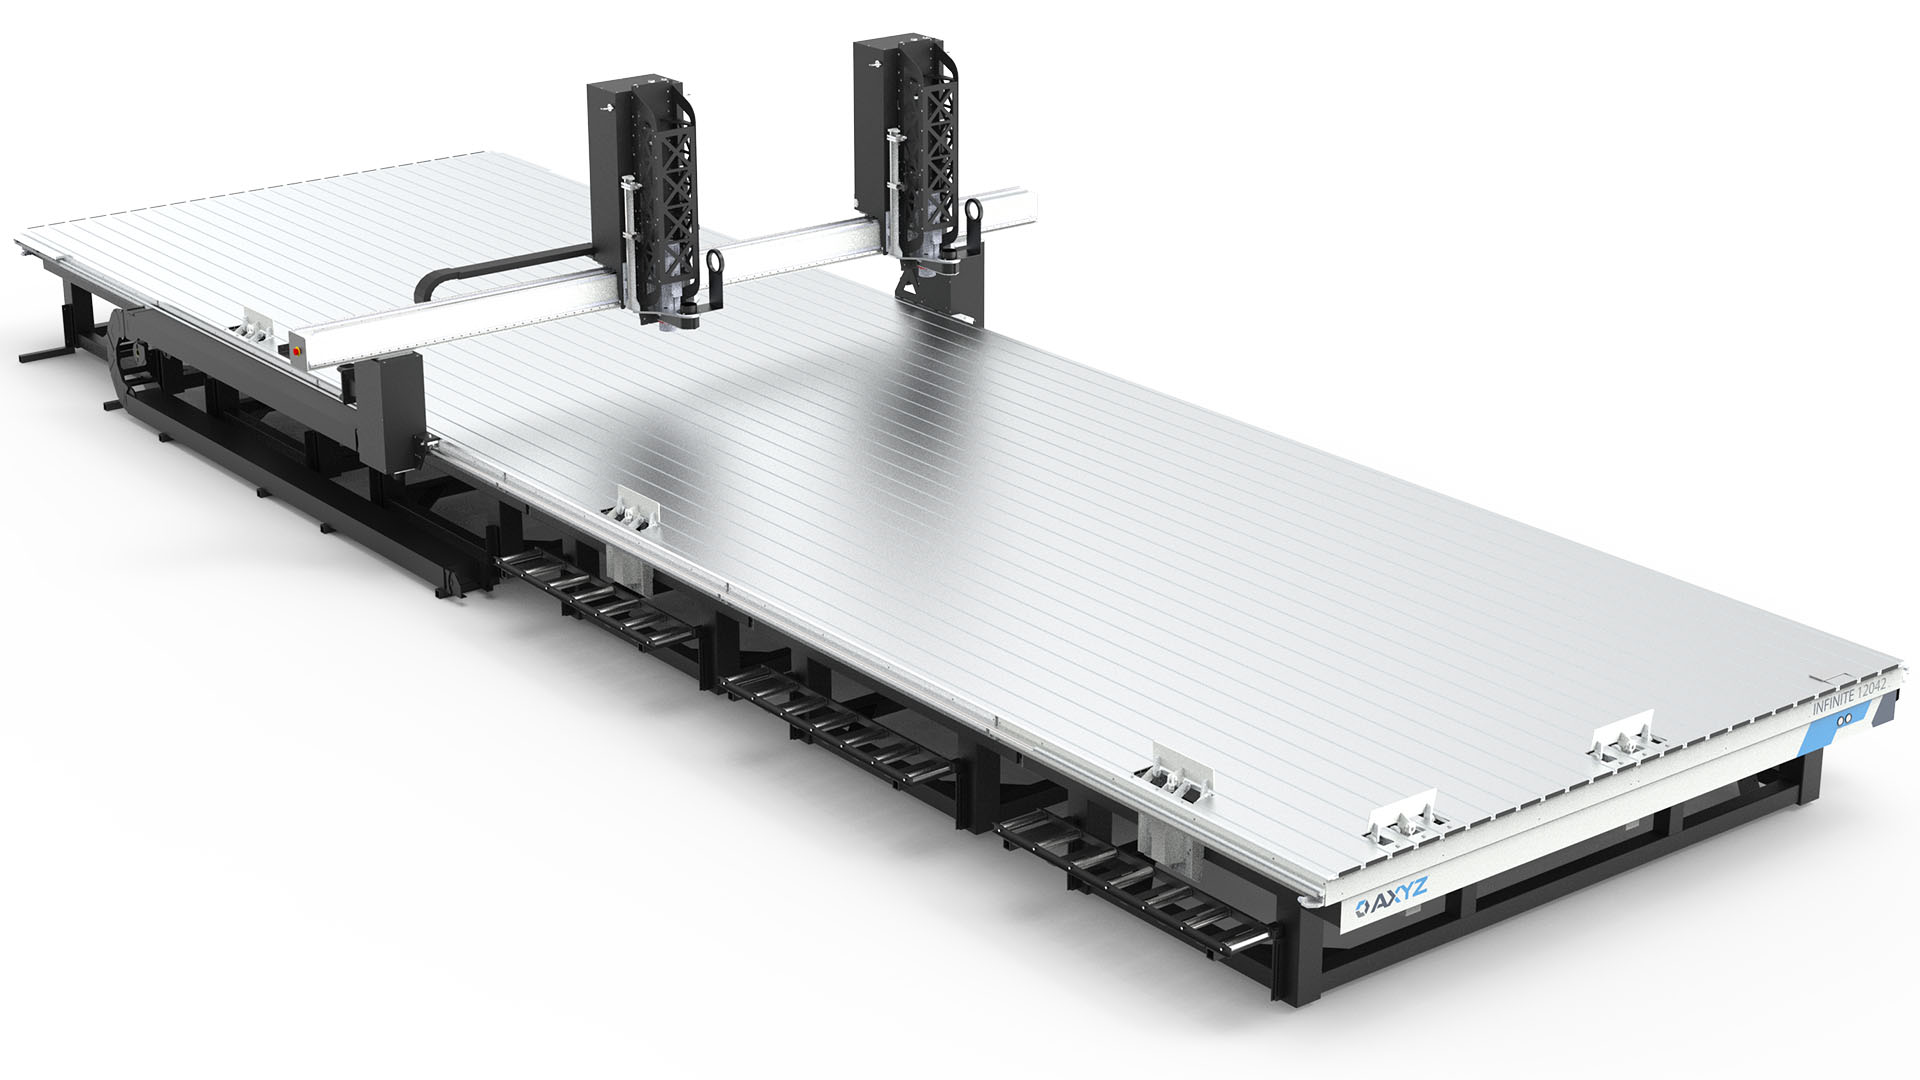
A strong machine is a key starting point to a successful project. Ideally, you will have already purchased a suitable CNC Router. If you have not yet done so, we have some advice to get you started.
When searching for a high quality finish, there are four key components to consider during the buying process:
1. A strong, rigid base is essential. Purchasing a heavy-duty router allows you to couple a strong base with a stiff, solid gantry. A strong structure supports demanding processes, offering a robust and reliable unit while helping to minimize vibration and movement.
2. A smooth control and drive system has arguably the most important role in producing a quality outcome.
3. Helical Rack systems and servo drive motors both help to deliver a smooth drive. As a result vibration is kept to a minimum. The machine itself can cut at a higher speed, producing higher volumes without losing quality.
4. Finally, a competent vacuum hold down system is highly recommended. The vacuum hold down ensures material stays in the correct place throughout the cutting process. Even the slightest material movement can put the software program, spindle and material out of sync, invariably ruining the piece completely.
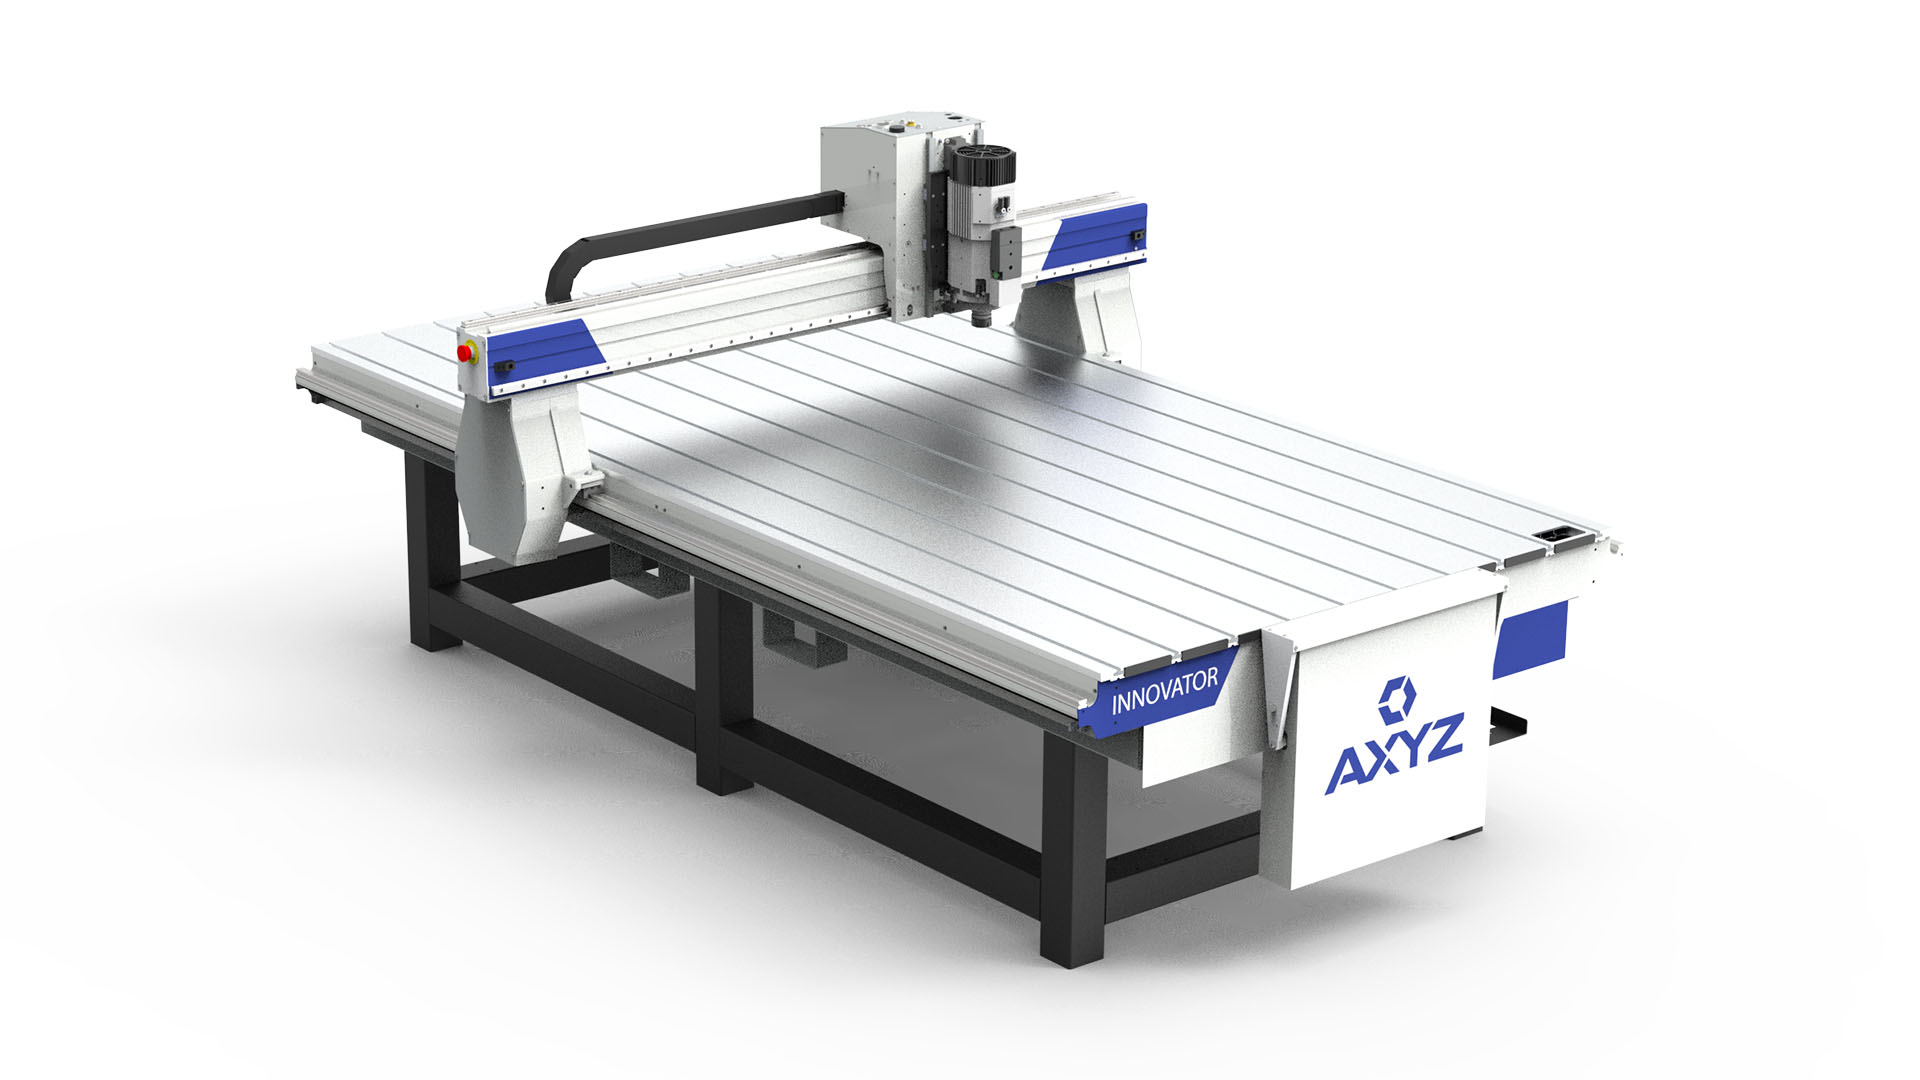
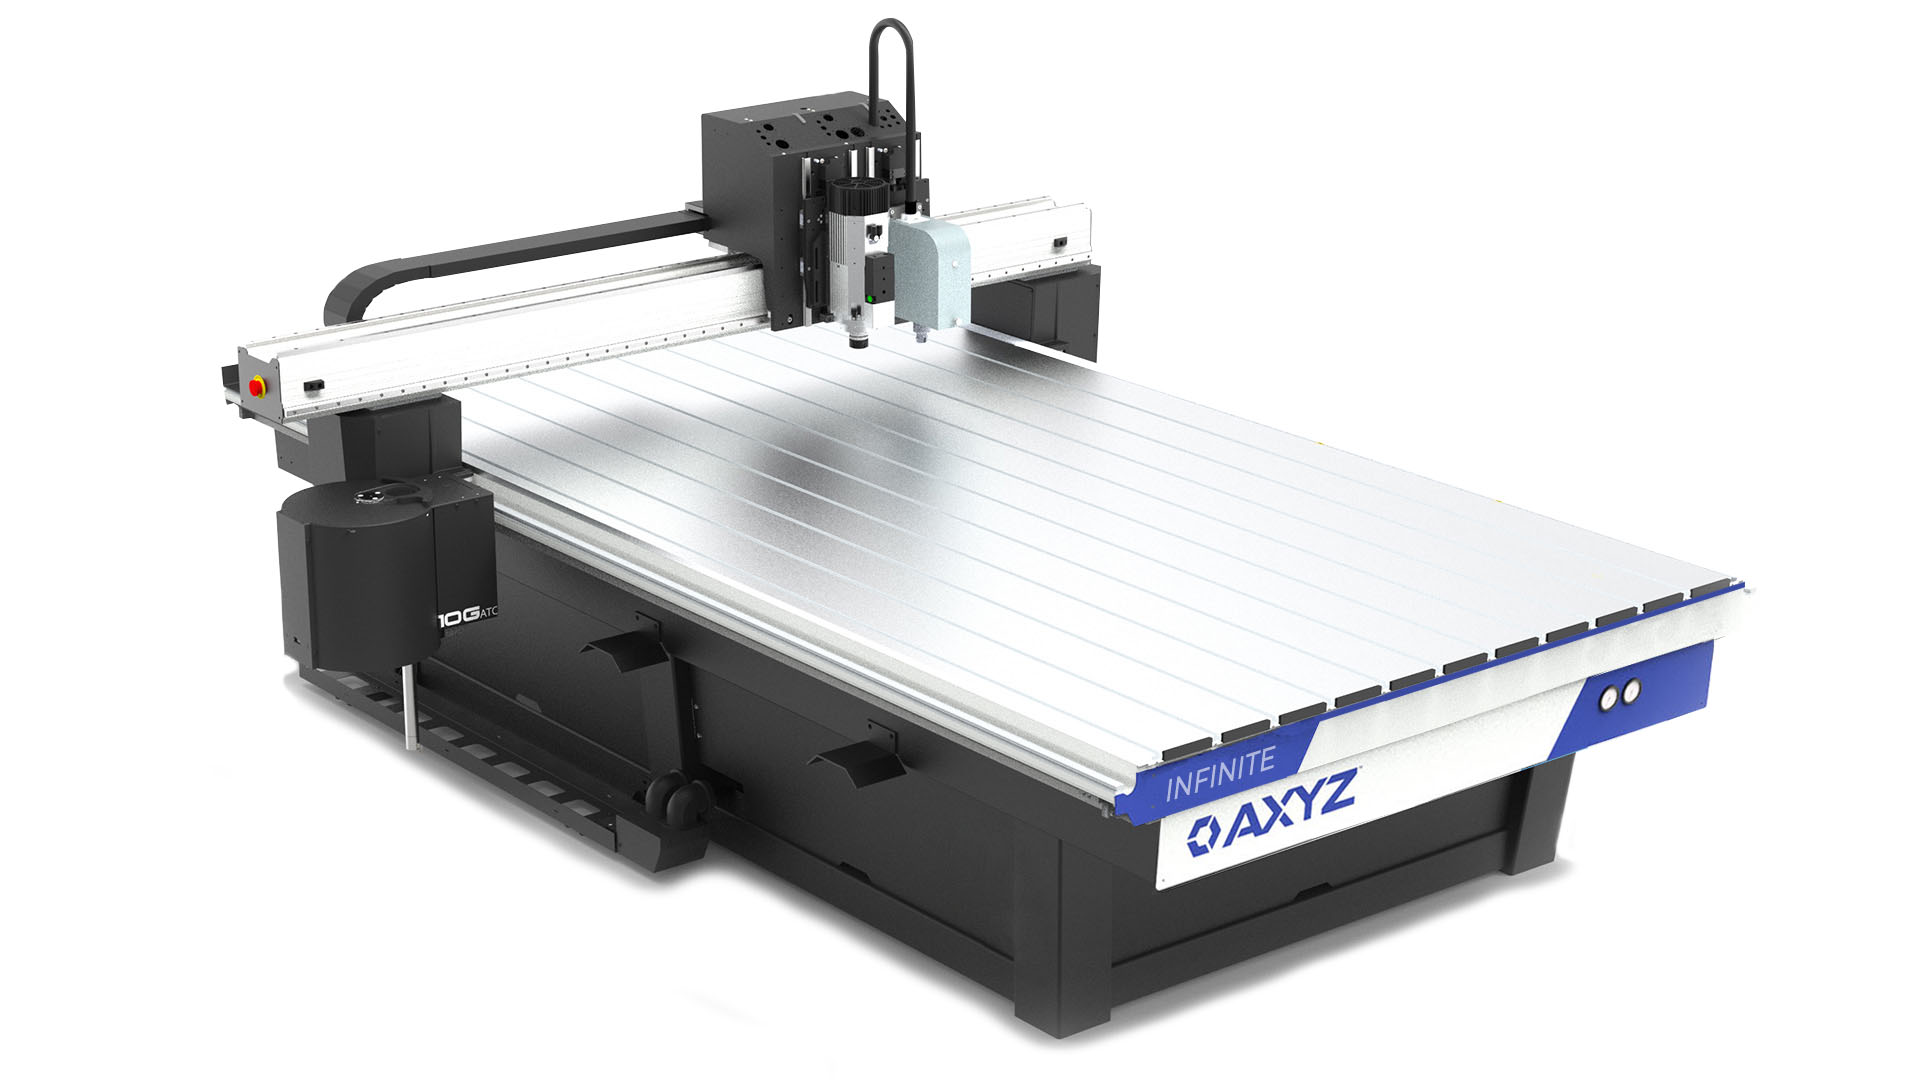
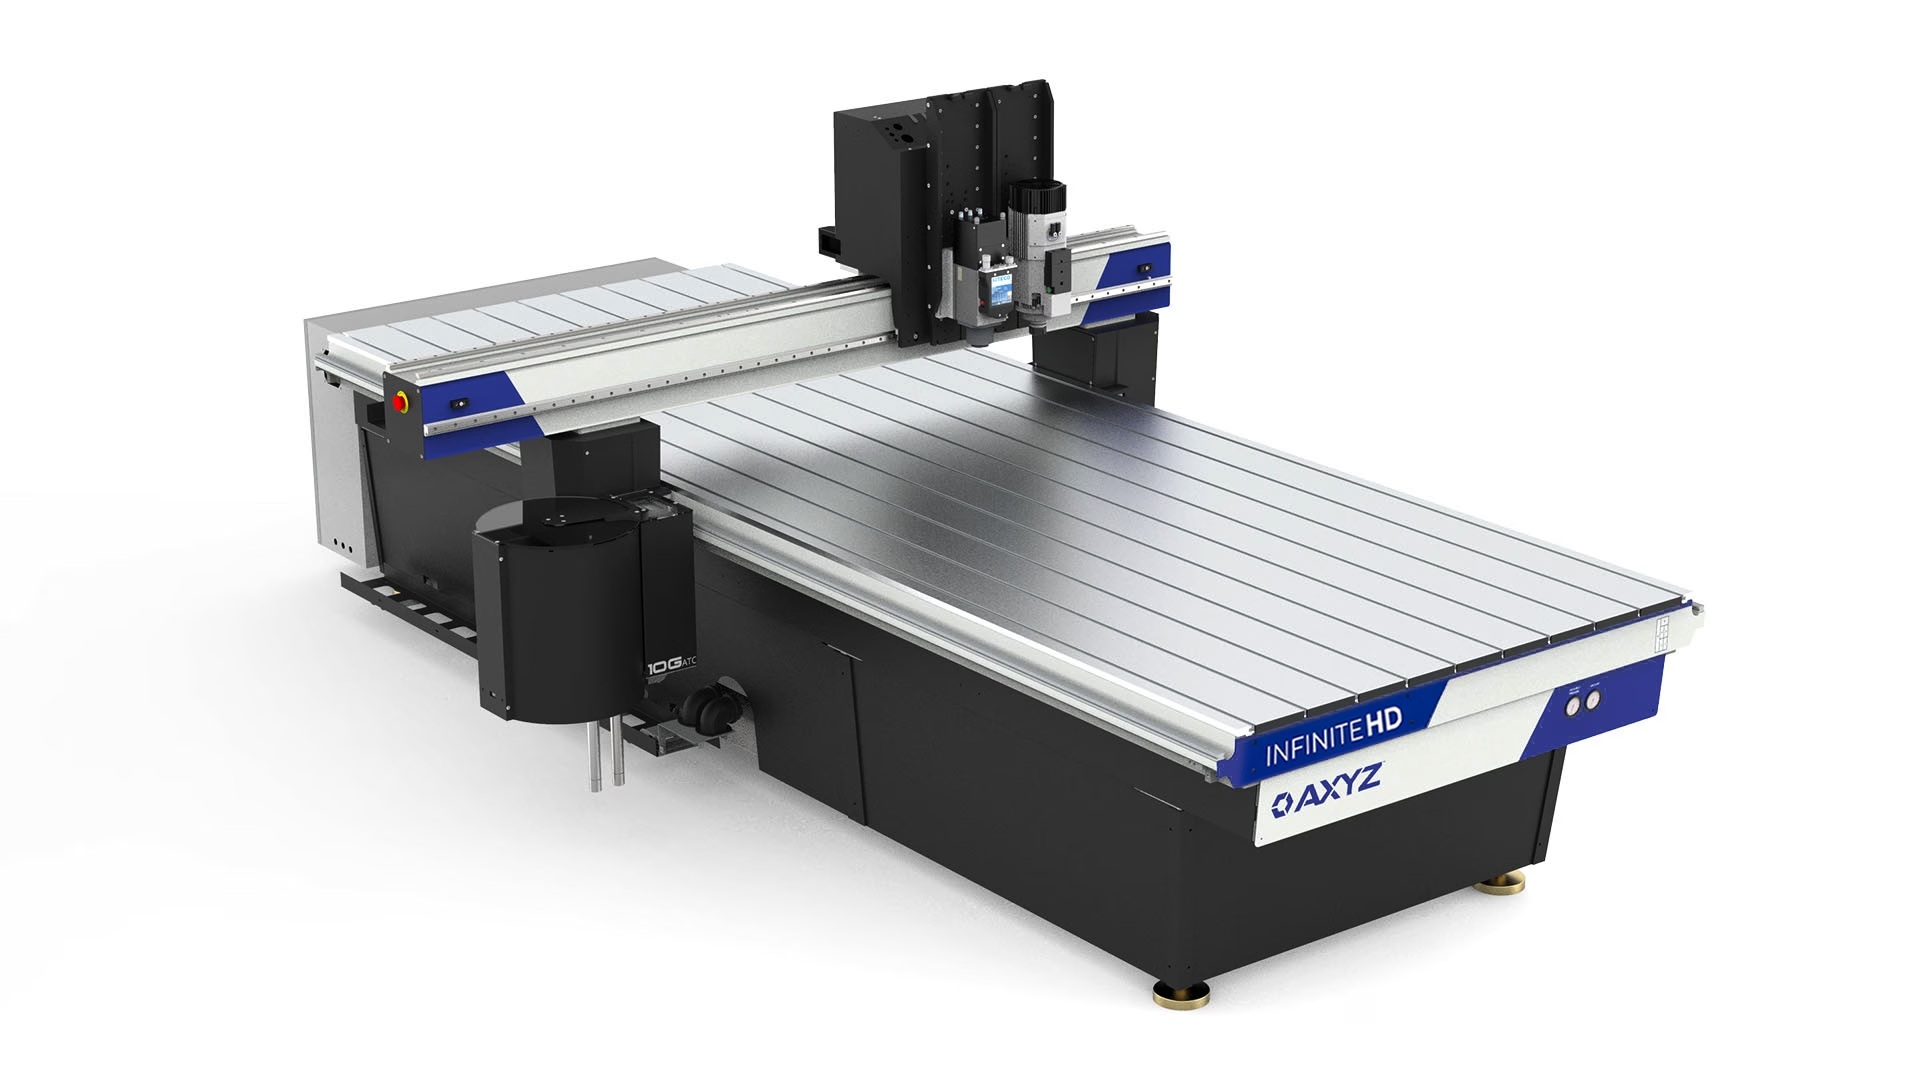
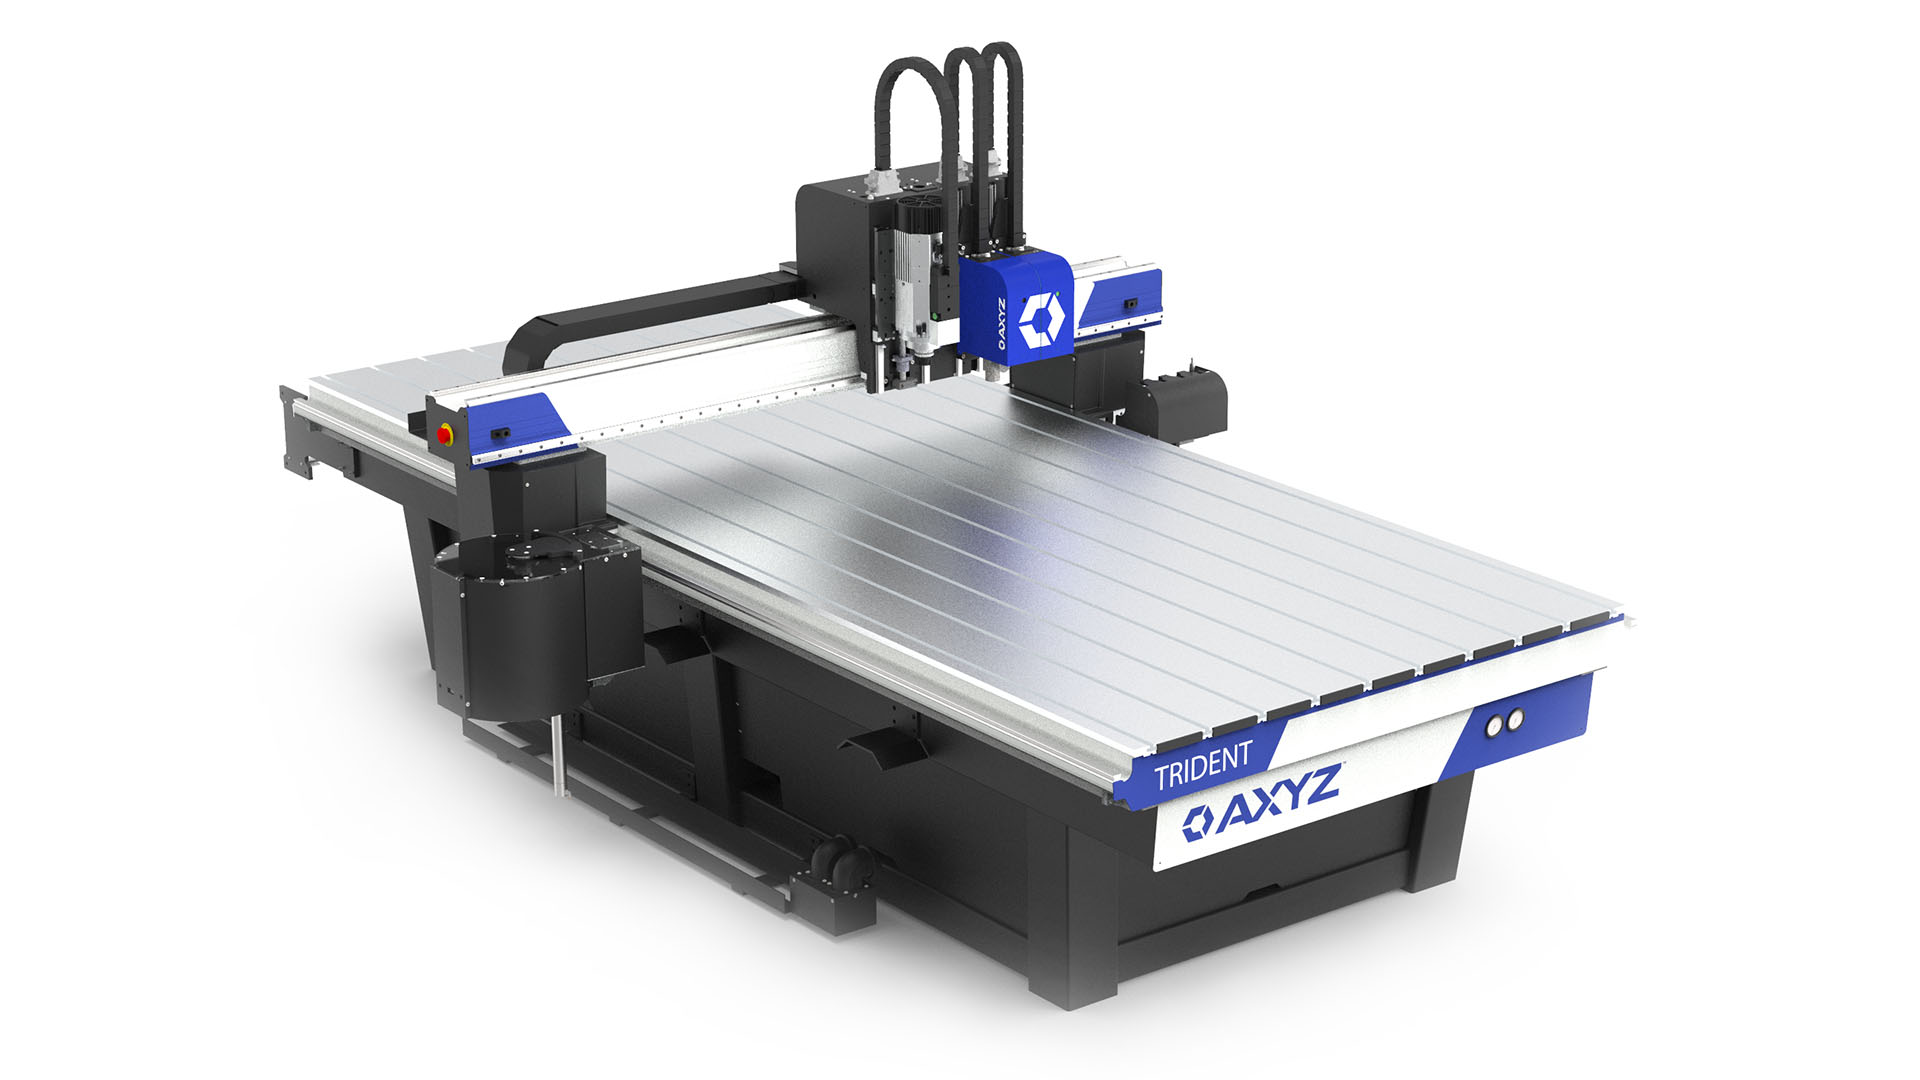
From our own collection we would recommended the AXYZ Series and Pacer Series, both of working of the same robust table design would provide any manufacturer with a solid foundation for cutting acrylic.
Adapting your feeds and speeds per application is absolutely essential to getting the best out of your investment. Machine settings must reflect what you are trying to achieve as each material differs in thickness, texture, and usability.
The key here is to not set your acceleration rate or feed speeds too high, but to start with a lower figure and adjust accordingly. Reducing tool acceleration consequently minimizes the risk of machine vibration, which is commonly caused by a high tool speed combined with a sudden change in the direction of the gantry.
Material Selection
Material selection is a key component when working with acrylic. We recommend using cast rather than extruded.
Cast acrylic generally has good optical clarity, has greater surface hardness and machines more cleanly than extruded.
Collet Selection
Collets are often overlooked as a possible reason for poor quality cutting. It’s not uncommon to find machine operators using collets that are many years old. These may appear to be perfectly fine but in actual fact they do wear out. Usually after 3 to 6 months of use they won’t hold a router bit as straight and true as when they were new. Collets should be changed regularly. This will also help to prolong tool life.
Make sure you have selected the correct type of collet to fit your spindle, as different spindles take different collets.
The most important factor is to ensure you match the collet shank with the tool shank diameter. Be aware that manufacturers often quote sizes in metric and imperial. Make sure you read the data correctly to avoid mistakes.
Collet selection is made simple with CNCshop, which has a detailed guide on selecting the right collet for your spindle and tool. Check it out.
Tool Selection
There is an enormous and sometimes bewildering choice of CNC Router tooling available. There are single, twin and triple flutes, straight, compression and spiral flutes. There are even special coatings that can be applied. This makes the task extremely difficult. However, selecting the right tool for the job can make the difference between a perfectly smooth and clean cut, or something that looks like it has been hacked out with a saw.
When operating with plastics, a high quality router bit is essential. An upward spiral, single flute geometry usually gives best results on acrylic. Both Belin and Onsrud manufacture this type of bit using high quality micro grain carbide that offers high temperature resistance, excellent wear characteristics, and continuous high quality. The upward geometry provides a smooth and consistent finish and ensures optimal chip extraction. For best cut quality, always choose a tool with the shortest flute length that will cut through your material. This helps to reduce cutter deflection and chatter.
These tools are all available on-line from CNCshop in a wide range of sizes for next day delivery.
Tool Positioning
When fitting the bit into the collet, make sure the cutting flutes are not inside the collet. Leave a short section of the shank exposed. Equally important is to ensure the tool is not protruding too far out of the collet. If the tool is protruding too far then the material will show vibration marks and produce a poor cut quality. This results in reduced tool life.
Cutting Process
For best results the recommended strategy is to split the cutting process into two parts – a roughing cut and a finishing cut, each done with a different tool. This allows you to preserve your finishing tool for a longer period of time, which in turn enables you to achieve that higher quality finish.
The dynamics of this process are simple enough: the roughing cut does the majority of the work, reducing the load on the finishing cut. The roughing pass churns out most of the material, whereas the newer finishing cutter removes the remaining material and leaves a smooth, polished edge. Our own application engineers adopt this strategy when cut finish holds the highest priority.
When creating the program for the rough cut, ensure that you leave about 0.02” (0.5mm) on the Z axis so that you don’t cut fully through the material and the part is held in place. Also, offset the tool with an additional allowance of approximately 0.008” (0.2mm) around the profile. By doing this you leave only a very small amount of material to remove for the finishing tool. This reduces cutter loading and chip volume and minimizes the chances of vibration spoiling the edge finish. Set your cut speed to approximately 60ipm (1.5m/min) and cut in a “climb” or clockwise direction.
Conclude the process by running the finishing pass, this time cutting all the way through. Remove the profile allowance and reduce the cut speed to about 40ipm (1m/min) in the same direction. The finishing pass should produce little if any noise, with higher noise resulting in a rougher cut. If the noise increases at any point of the finishing pass, stop the machine and check your work and reassess the situation. You may have to reduce the feed speed or acceleration rate or fit a new tool.
If your quality starts to diminish you should consider replacing your finishing tool. This will need to be changed on a regular basis to maintain highest quality.
Still not going to plan?
If you are still not getting the results you expect there are some common causes to check:
1. Over tightened collet – this can cause small distortion in the way the router bit is held leading to vibration and chatter marks on the cut edge. Try releasing the tool and re-fitting without overtightening the nut.
2. Feed rate not correct (finishing pass). The guide speeds above are only a starting point. Depending on the machine and material, you may get a better finish by running faster or slower. The best indication of quality is the noise made when cutting and you soon get to know the sound of a ‘good’ noise.
3. Spindle speed not correct (finishing pass). Usually best results are obtained when running the spindle at its highest rpm.
4. Wrong type of material (extruded not cast). Some acrylics cut much better than others; even different colors can cause variation in cut quality. It’s worth trying a few different brands to find the one that best suits your needs.
5. Wrong cutter. Double check to make sure you are using one of the recommended bits. Sometimes a cutting edge may develop a defect that you can’t see on the tool but which leaves a mark on the edge of the acrylic.