

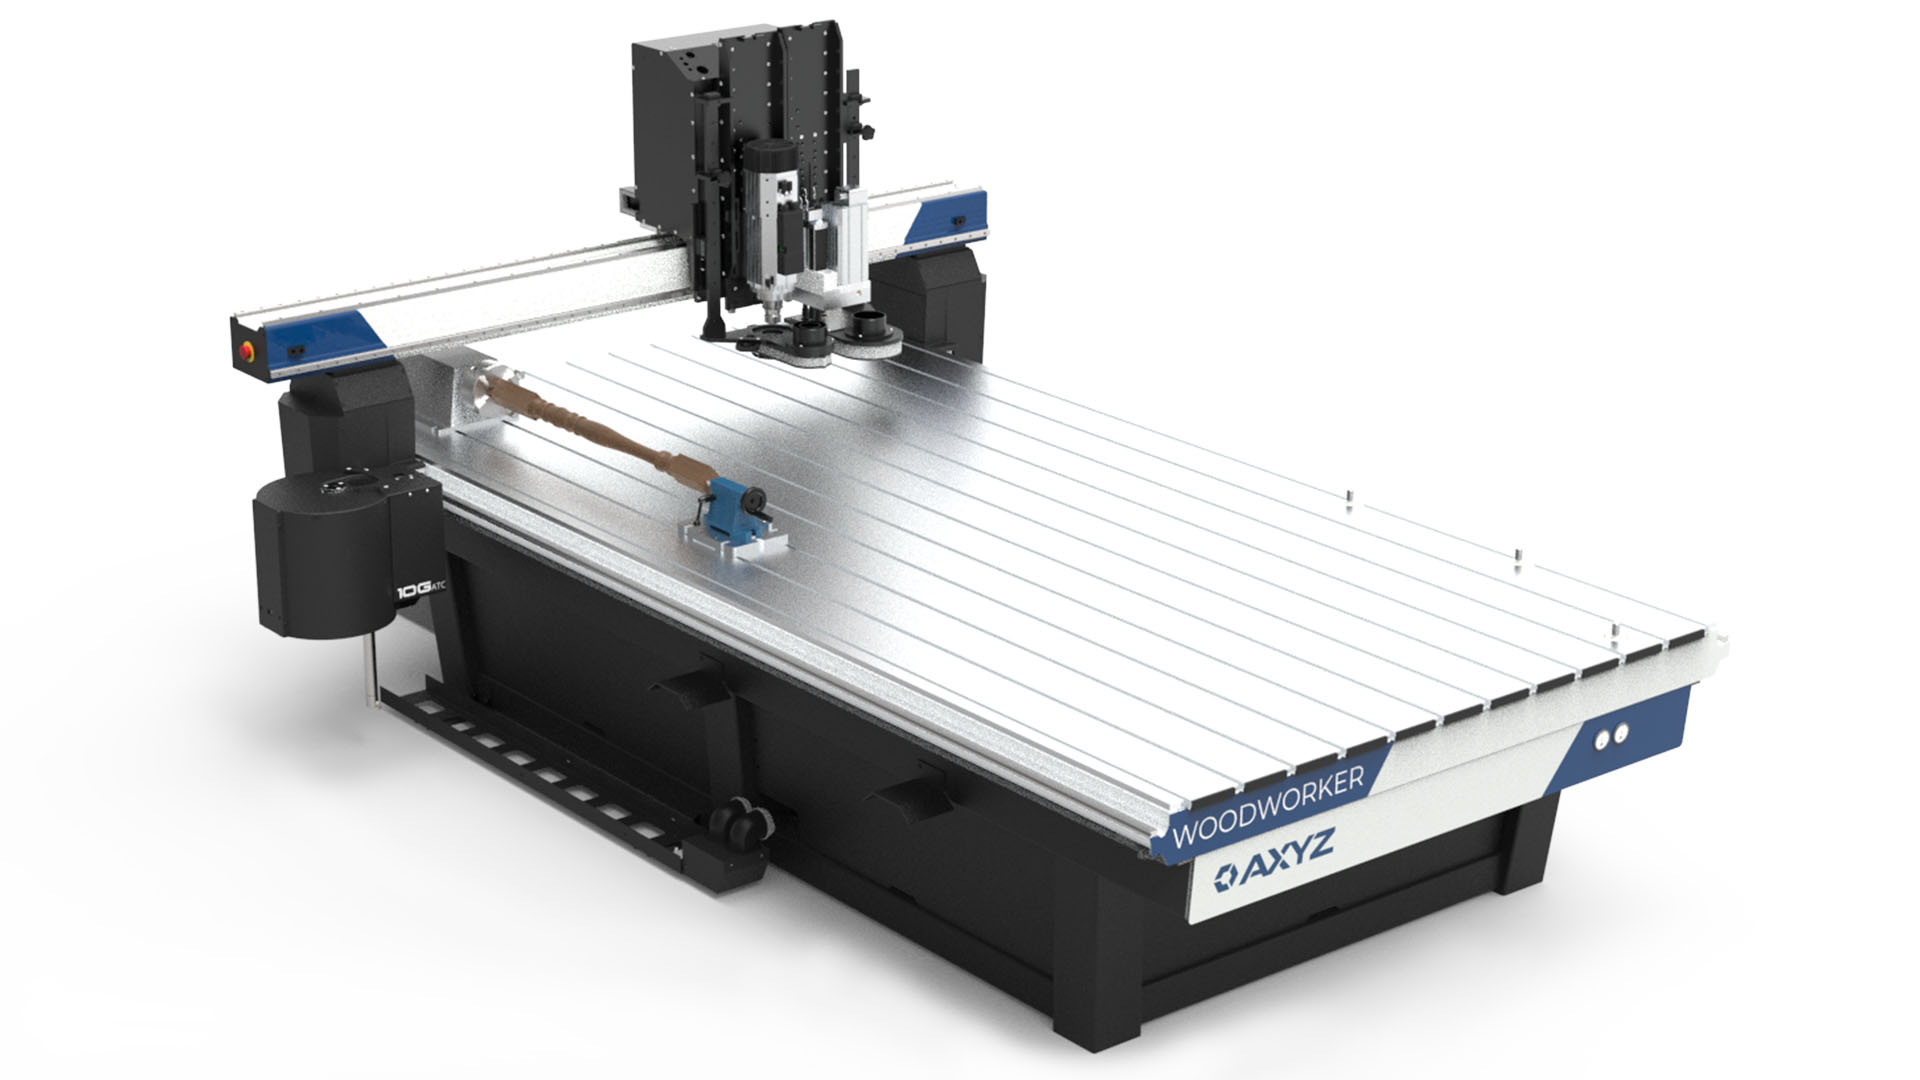


Are your cuts lacking that high-quality finish you were hoping for, even though you’re using the right tools and hold-down system? If the answer is yes, then you may need to examine the way you’re plunging your tools into the material. In most cases, a vertical plunge is a perfectly fine way to start your cutting process. But sometimes, when combined with certain tools and materials, this method can cause a host of problems. In this week’s tech tip, we’re going to look at ramps and lead-ins so you can use them to improve the quality of your cuts.
Potential Problems with Compression Tools
If you’re using a compression tool on MDF or Melamine, a vertical plunge may cause the cutter to overheat, as debris has no way of escaping to be collected by the waste extraction. This will reduce the life of your tools and possibly scorch the material, as well as the machine bed.
A similar issue may arise when cutting aluminium. In these cases, a small button of material might get caught and stick to the bottom of the tool. This will also result in scorching, as heat will generate when the button rotates on the surface of the machine bed.
Use a Ramp
A ramp is created when the cutter plunges to the surface of the material and then continues to cut around the profile of the part, while driving down at an angle to the surface of the sacrificial bed. This allows the tool to cut with the side edge of the tool, as well as the bottom. It also creates a channel for the chips to be removed and cleared from the cutter as soon as the cut starts. At the end of the profile, the tool will continue cutting until it reaches the bottom of the ramp.
Three Types of Ramps

- SMOOTH. By entering a measurement value, the cutter will drive from the surface to the bottom of the cut in a single pass.
- ZIGZAG. This will program the machine to move in a back and forth motion and pierce the material at the bottom in the same position where the tool first started cutting.
- SPIRAL. This will control the cutter to make a full revolution of the part before the tool cuts to the bottom of the material. If the tool is cutting multiple passes, the tool will spiral to the bottom of the material in as many passes as is programmed before completing the cut with another full revolution. This solution is very useful when cutting holes with a smaller tool.
Use a Lead-In
An alternative to ramps is the lead-in start. This is where the tool plunges into the material off of the part, then cuts towards the profile and continues around the part. At the end of the cut, you have the option to extract at the end of the cut or have a lead-out and away from the part.
Two Types of Leads

- STRAIGHT LINE. Entering the distance of the angle for the tool to travel before it makes contact with the part.
- CIRCULAR. Requires the radius and length before it makes contact with the part
Both lead-ins will improve the quality of cut and give a better finish.
Interested in learning more cutting techniques? Sign-up for an online training session with our CNC Router Coach or contact your local Customer Care Team today.